1. Managing Subscription Plans
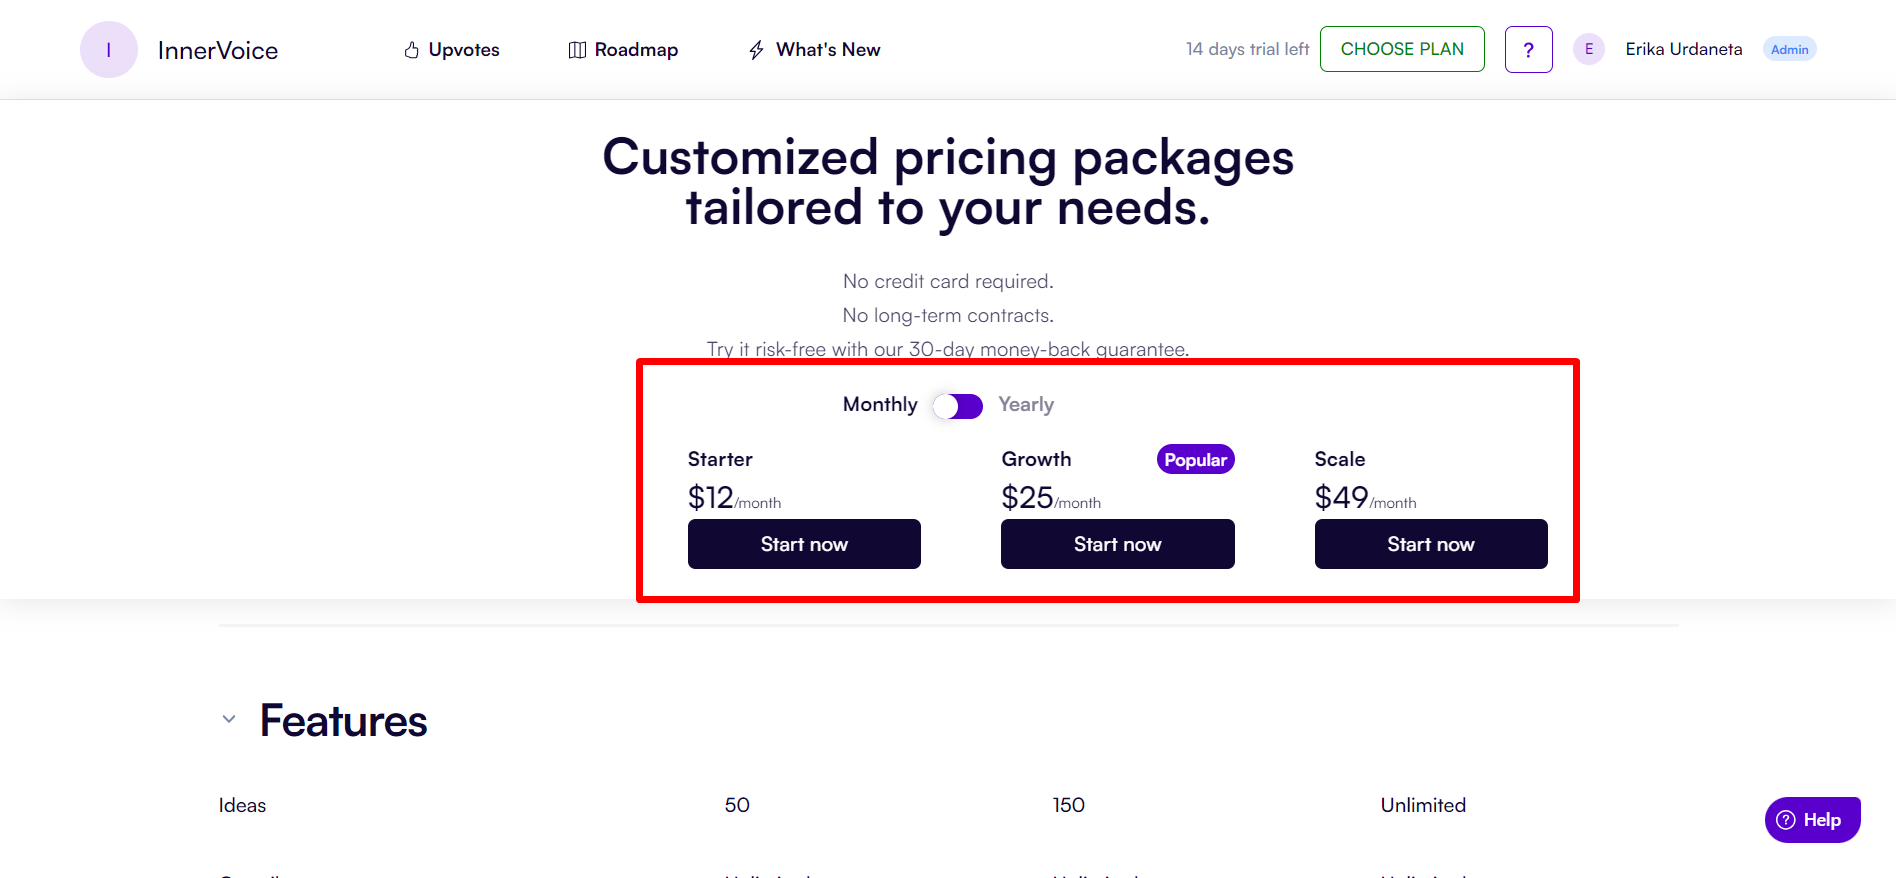
To upgrade or change your plan, click the "Choose Plan" button in the upper right. Select the desired plan from the available options.
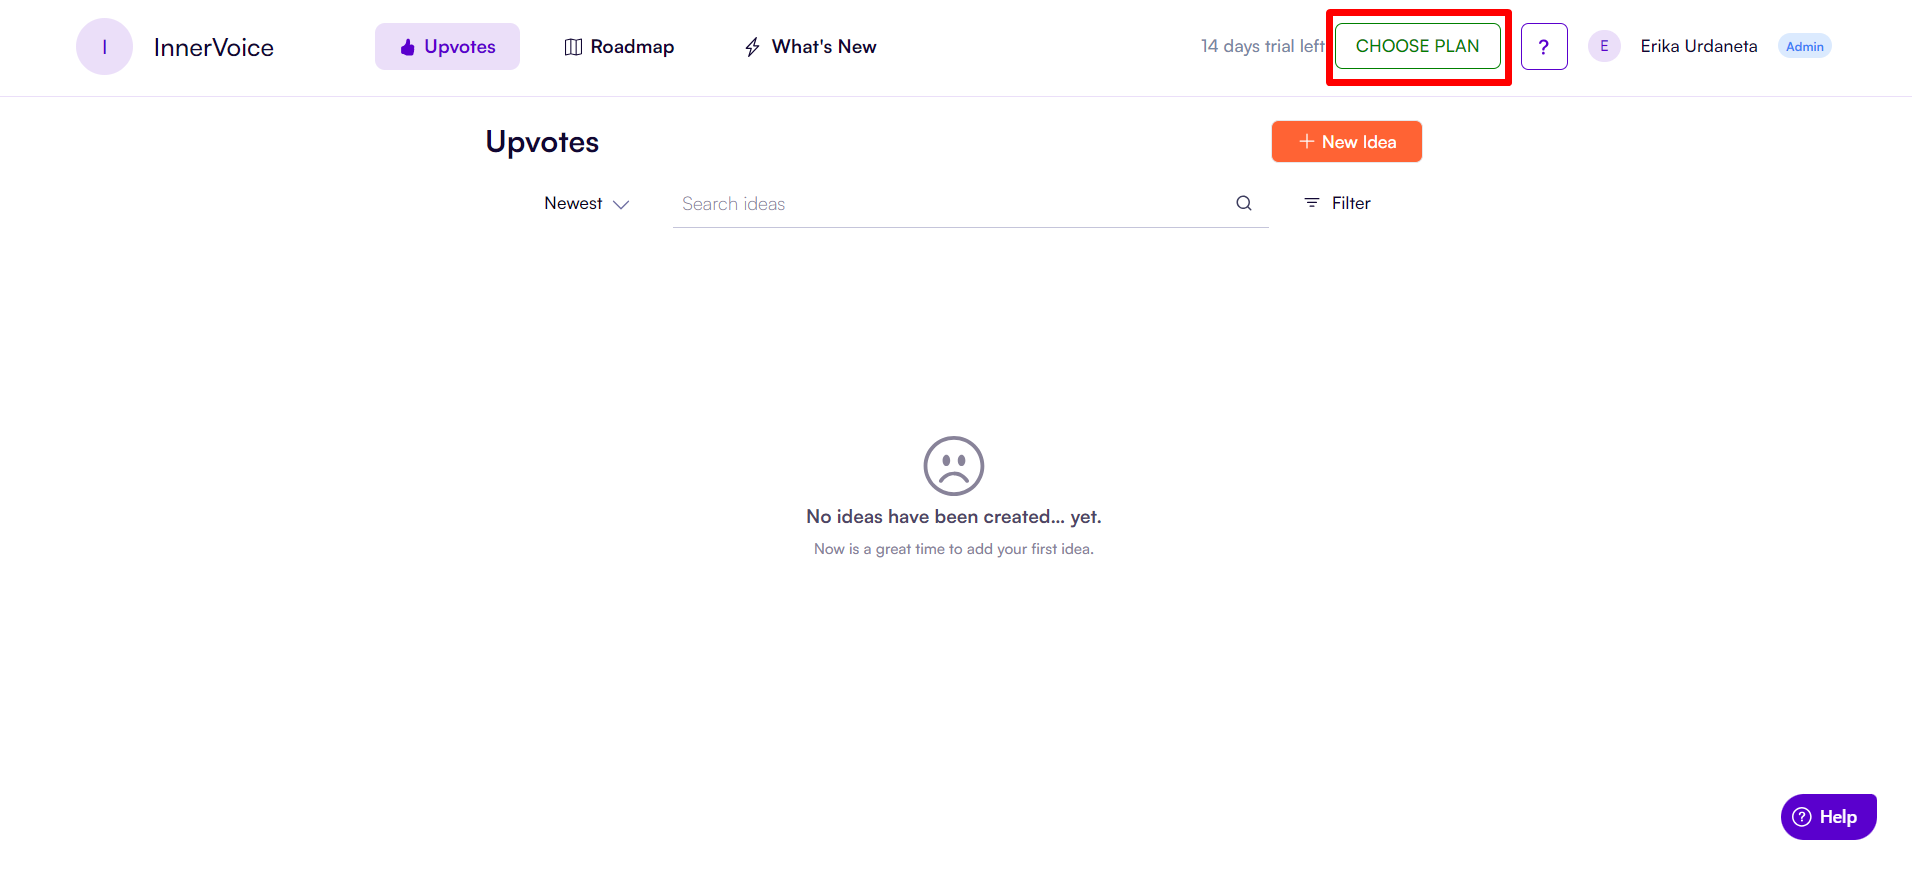 Click this link to see the monthly and yearly pricing as well as its inclusions > app.producthq.io/pricing.
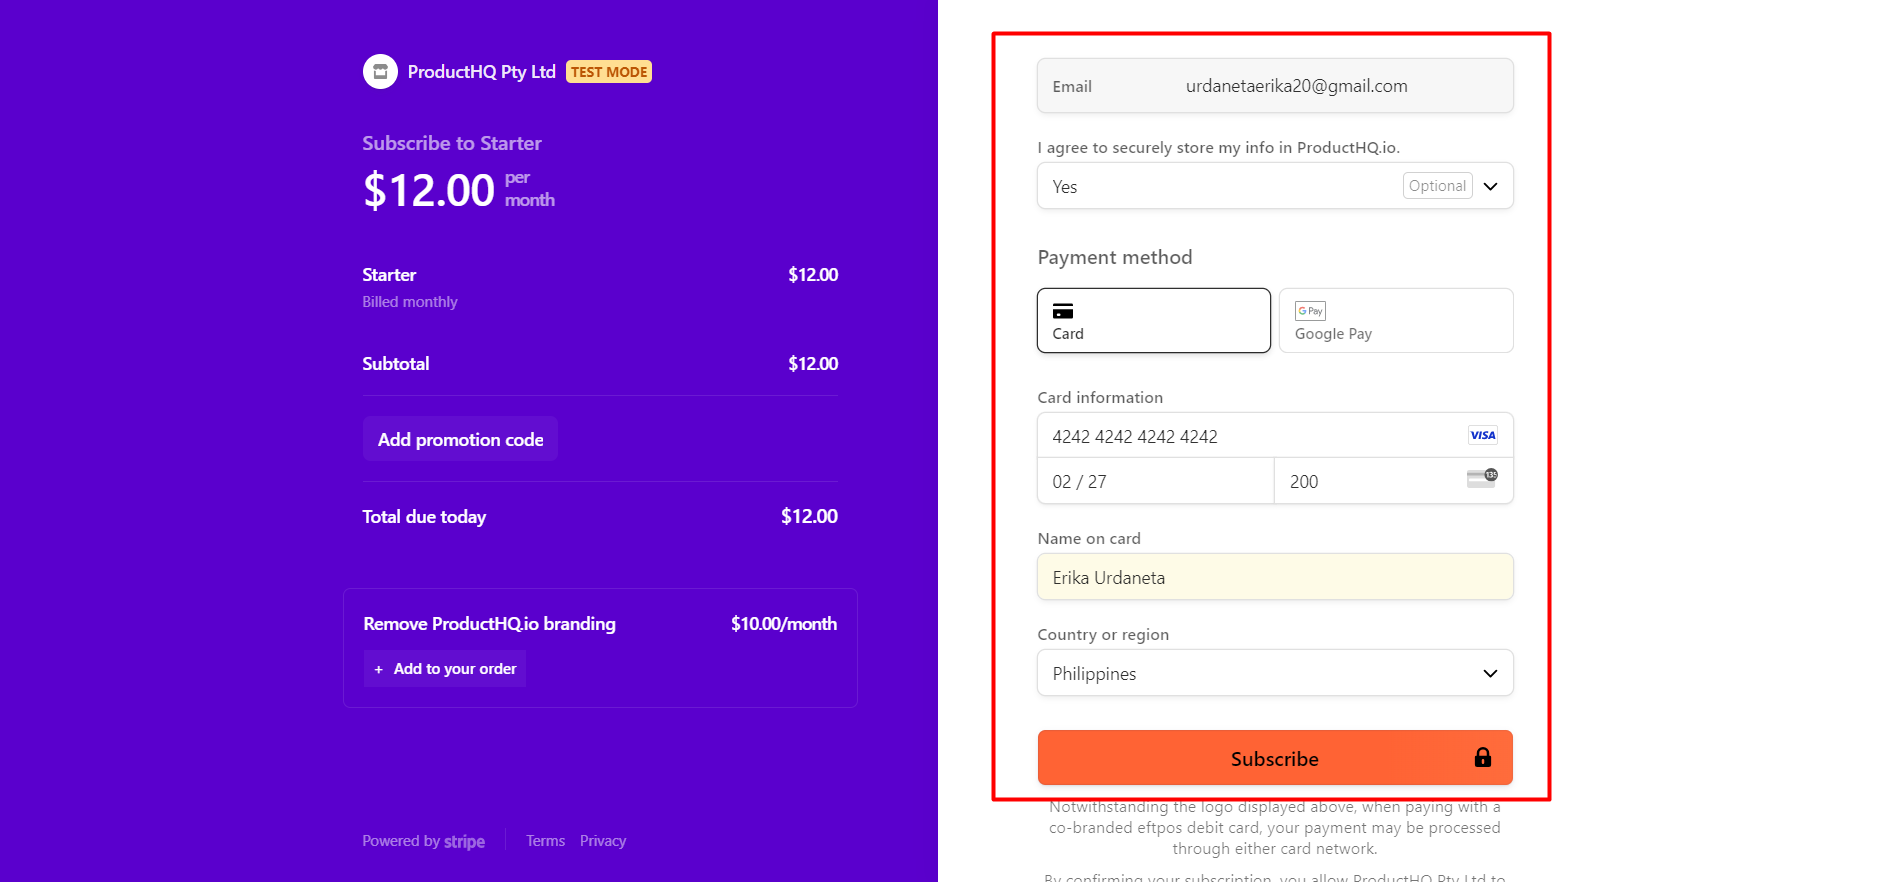
2. Making the Payment
Once you have chosen your desired package, it will prompt you to the billing section. Fill out the needed information (your data is safe with us!)
NOTE: You can only add one credit card at a time. If you remove the credit card, the subscription will be canceled at the end of the billing cycle.
Click “Subscribe”
 Once the payment is processed, you'll receive a confirmation notification indicating your successful transaction.
Congratulations! You can now enjoy the package inclusions!

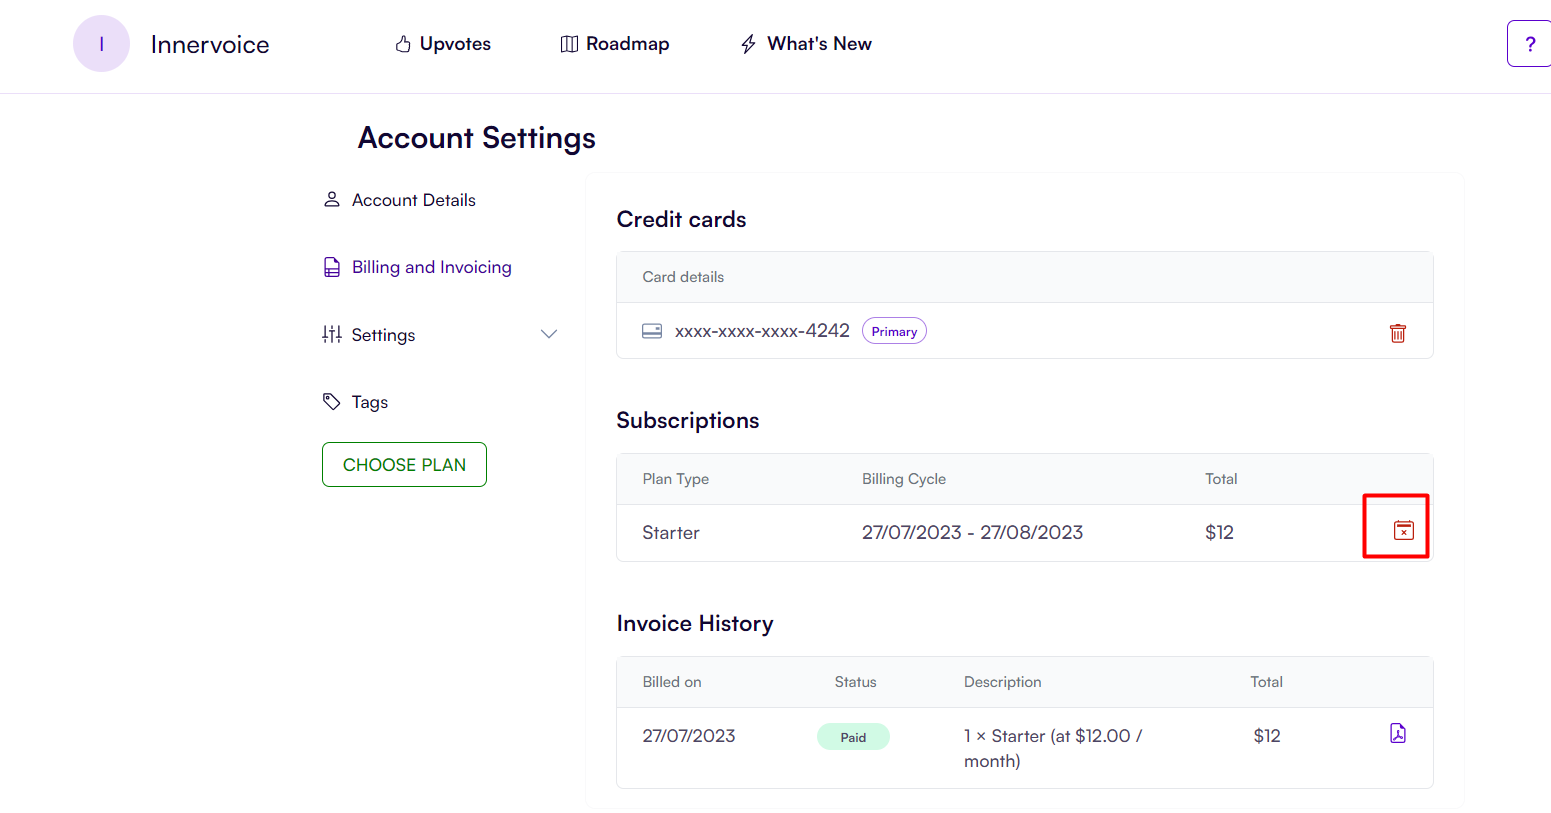
3. Cancelling Subscription
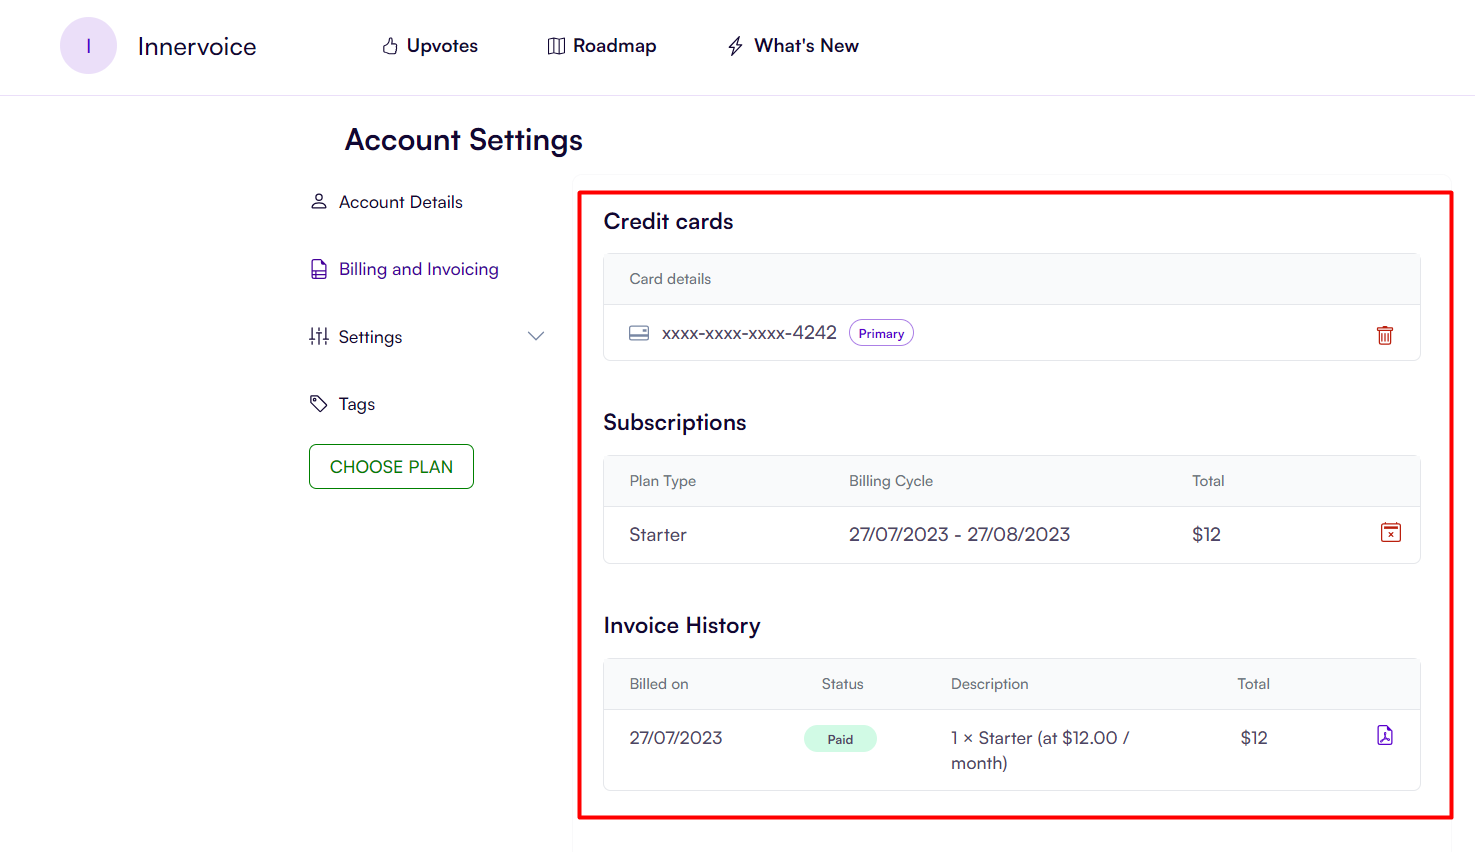
To cancel your subscription, go to your PHQ account > Click your name at the upper right corner > Account Settings > Billing Invoicing > Subscriptions.
Find and click the red cancel icon. It will prompt you to confirm the cancellation.
 When canceling a subscription, you will have limited access to the features. Please see more information below:
Account Details:
- Can change password
Billing and Invoicing:
- Can change the credit card
- Can Subscribe or Upgrade
- Can Download invoices
Project Details, Appearance, Tracking, Tags, Upvote, Roadmap, and What’s New:
- Can only read
4. Invoice Generation
- After successful payment, an invoice will be generated and sent to the provided email address.
- The invoice will include details such as transaction ID, date, billing information, and the amount paid.
- You can also check and save the invoice for your records or use it for accounting purposes by clicking the PDF icon in the Invoice History.
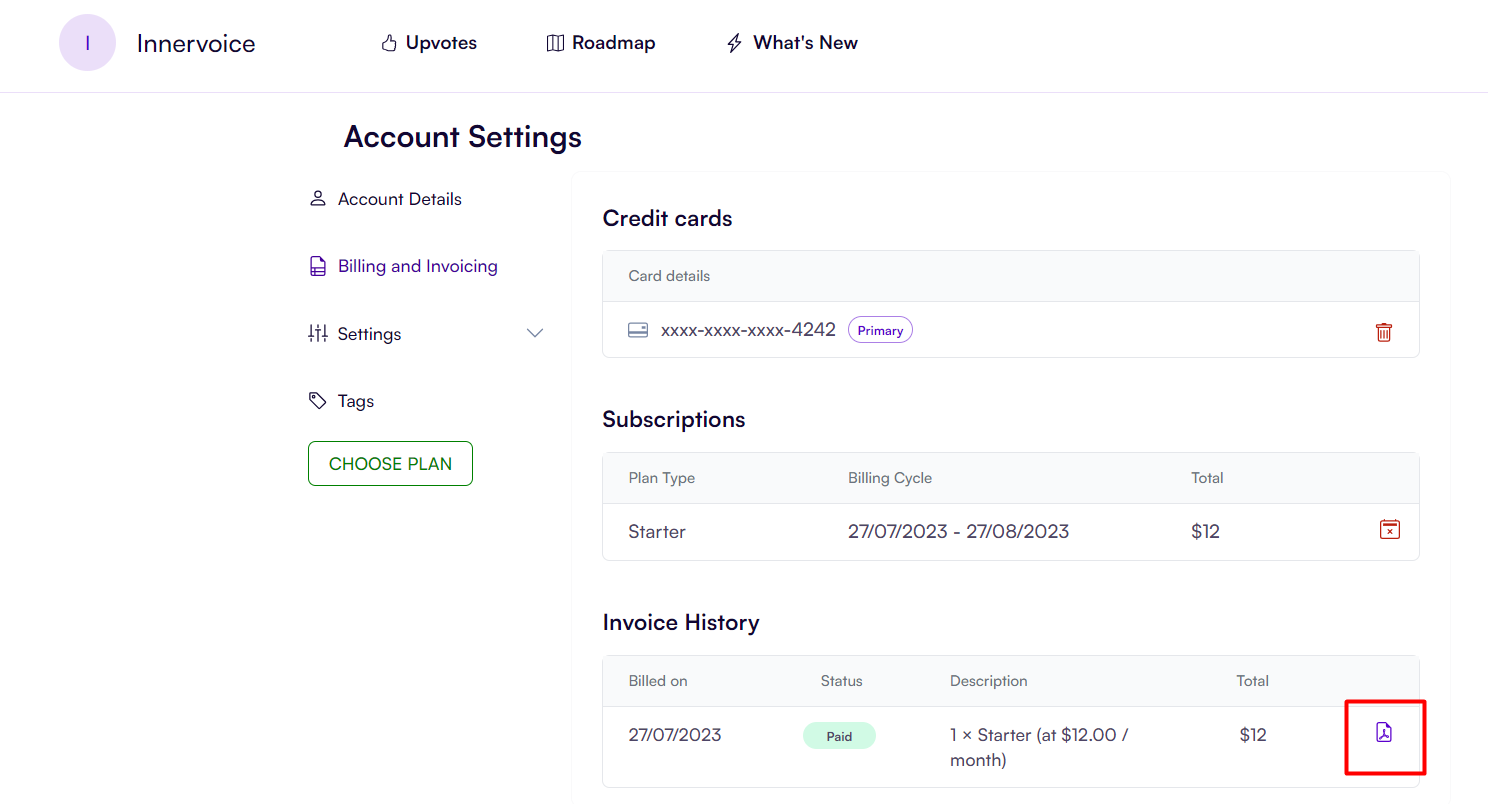
- Also, you can see your invoice history on PHQ. Go to this link app.producthq.io/billing-and-invoicing or click your profile at the upper right corner > Account Settings > Billing and Invoicing.